 |
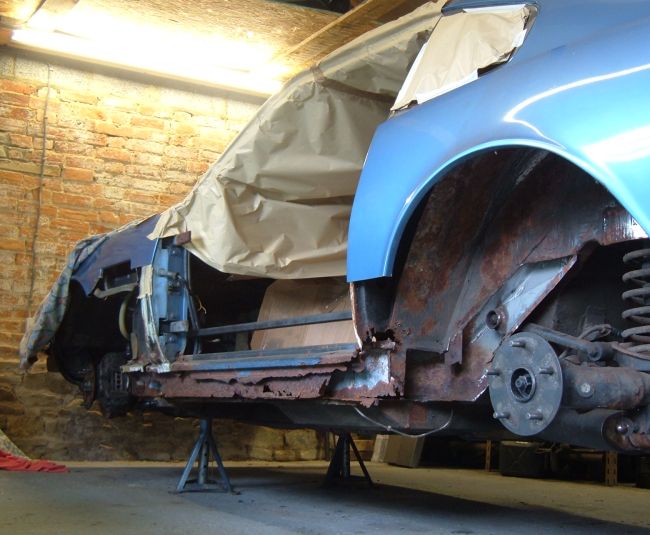
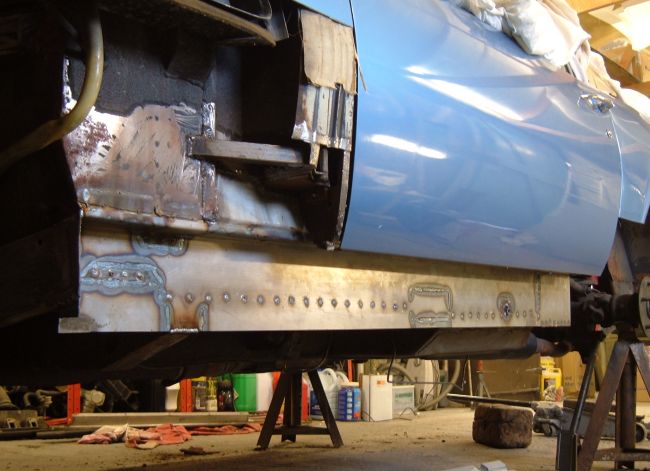
The old sills turned out to be completely corroded, although the floor pans and most of the chassis members were in surprisingly good condition. The construction of the car is quite special - the aluminium body panels were rolled over the steel structure and then welded together. Removing the aluminium body panels therefore involved cutting. The metal bar visible above the sill is a simple body jig welded to the A and B pillars. It will maintain the body shape while the sills are removed. |
 |
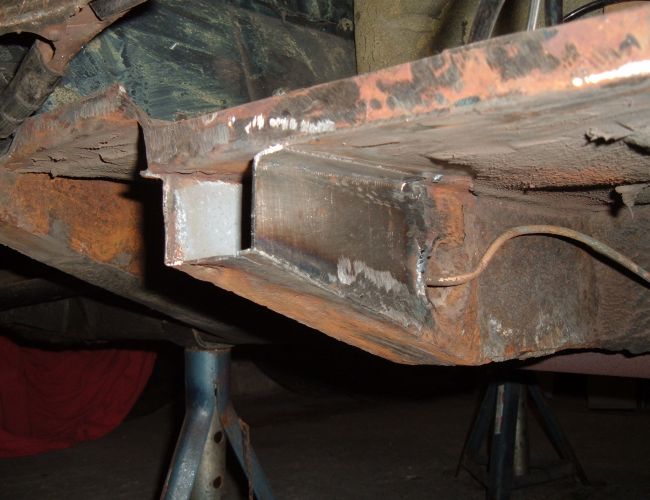
Aston Martin didn't mess around when attaching the floors to the sills. The floors were spot welded to the sills every 1/2 inch, and then just for good measure they were seam welded at the bottom of the joint. The bulk of the sills were roughly cut out around the seam welded joints. The remainder of the sills were then carefully ground away from the chassis members and floor leaving clean flanges to mate with the new sills.
|
 |
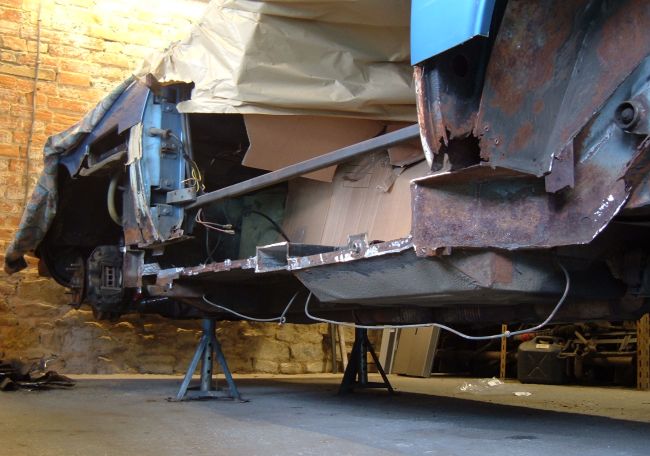
The sills didn't turn out to be attached to either the A-pillar or B-pillar which eased the process of removal. The only crossmember to have corroded was the one that supported the front jacking point, although some repairs would also be necessary to the B pillar and rear chassis before sill replacement could progress.
|
 |
Some repiars were required to the rear chassis before the new sills could be fitted. The door was re-fitted to check the door gaps were still correct. I'd be nervously checking the door gaps throughout the sill fitting process. |
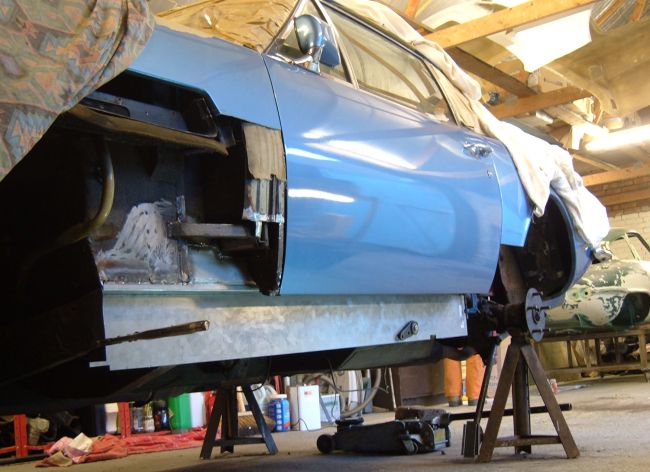 |
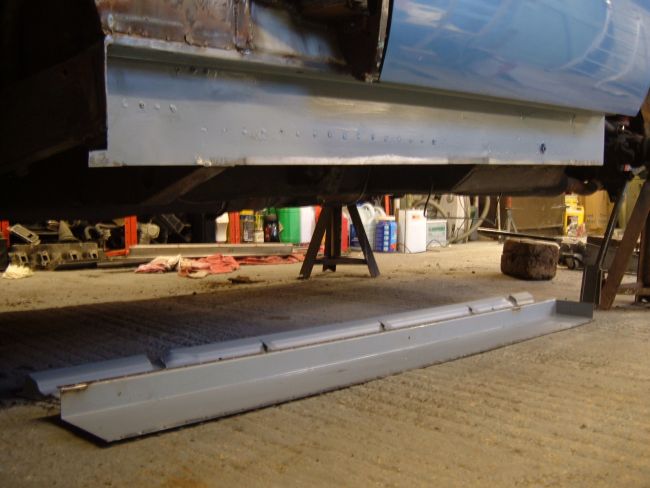
Aston Martin V8s were hand crafted, hence the the door gaps are very precise. This car had door gaps of about 3mm (1/8 inch). With gaps this tight getting things even slightly wrong would be very noticeable. This is a photograph of another trial fit. The inner sill has been spot welded in place, but annoyingly I've run out of welding gas, and it's a Sunday so I can't buy any more until tomorrow. |
 |
Having bought some new welding gas the inner sill was seam welded to the various cross members. The intention was to get as much of the welding out of the way before the outer sill was fitted so that the paint inside the sill wouldn't suffer too much heat damage. |
 |
The sill painted prior to fitting the outer sill. This will offer some protection, but there is a lot of welding still to do, and the paint will inevitably be burnt away in places. The front line in defense against rust will be a thorough waxoyl after all the welding has been completed. |
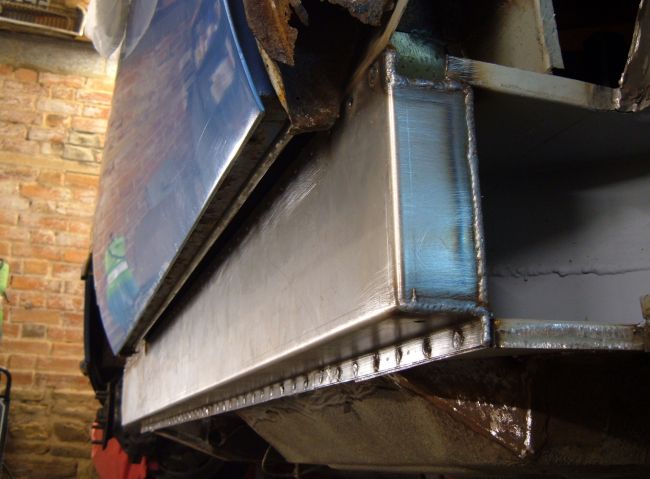 |
The outer sill spot welded in position. Aston Martin originally spot welded the sills, then seam welded the flanges along the entire length of the sill. Seam welding the sills is common rally car practice and adds a little more stiffness to the car. This will be carried out after the last section of sill has been fitted to reduce the risk of distortion. |
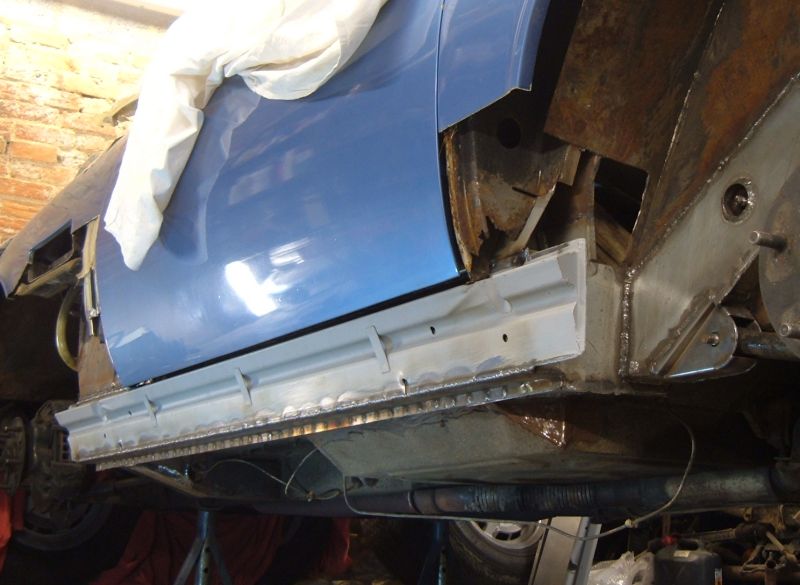 |
Following rear chassis welding the final section of sill was welded onto the car. This section extends forwards and rearwards of the main sill to act as a mounting point for the front and rear wings as well as the sill finisher. |
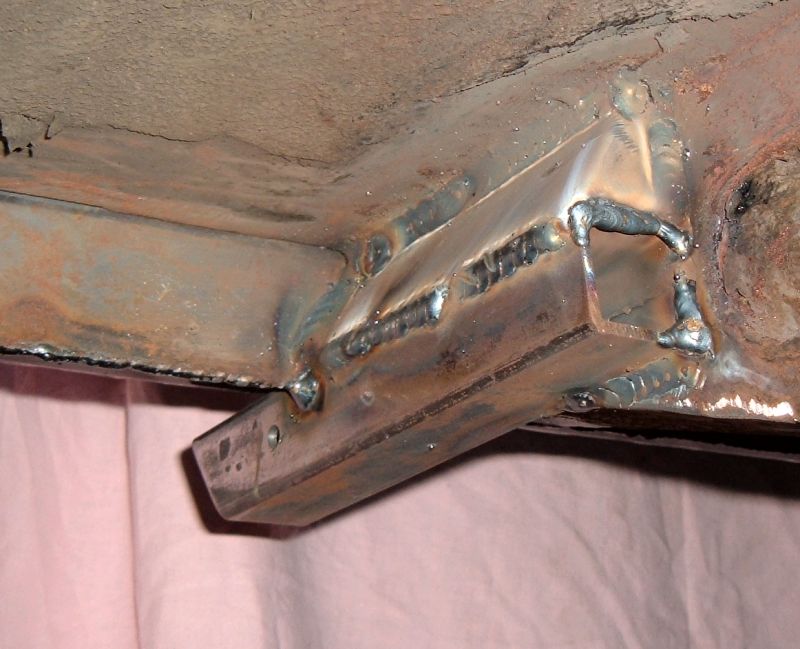 |
With the sills in place the jacking points were added. The reinforcement above the front jacking point had previously been open on the inside. Mud collecting inside the reinforcement had caused the original jacking point to rust, so I've closed the reinforcement. |
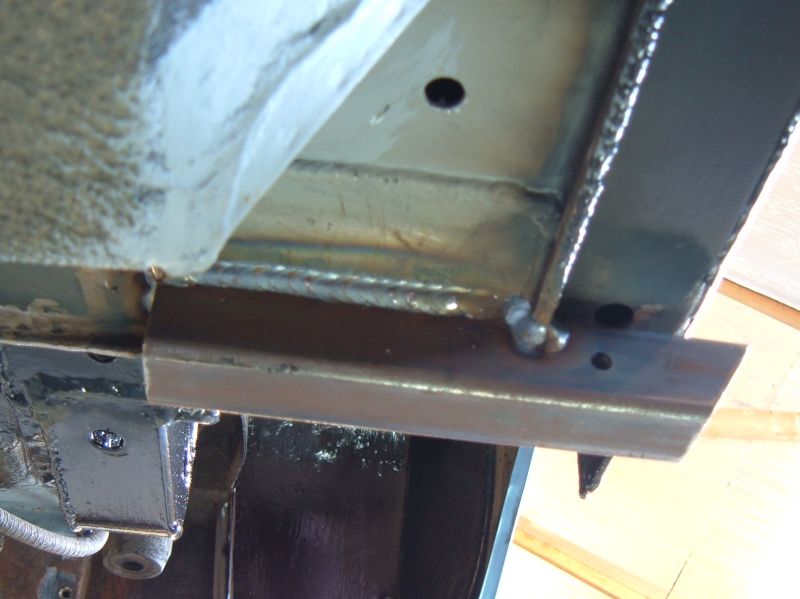 |
The rear jacking point is mounted on a 3mm plate. The only modification I have made is the addition of a drain hole forward of the reinforcement. |
| Next: back to A pillar and B pillar repairs. Or back to: Aston Martin Restoration |
|