Painting was the part I would have preferred to avoid. Solid colour is relatively forgiving as the paint can be flatted down at every stage. Metallic doesn't offer that luxury, and is further complicated by the metal flakes that reflect light differently depending on thinner ratio and spray technique. Really metallic requires a decent spraying technique.
I invested in a new spray gun before the project that is a little better matched to my compressor than my previous (cheap) one. It is a lot more forgiving providing a wider margin between orange peel and runs.
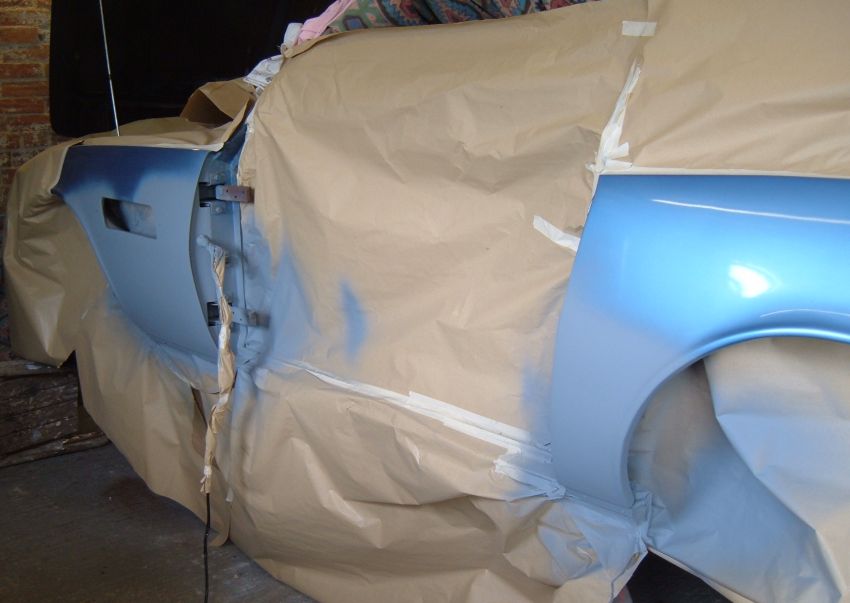
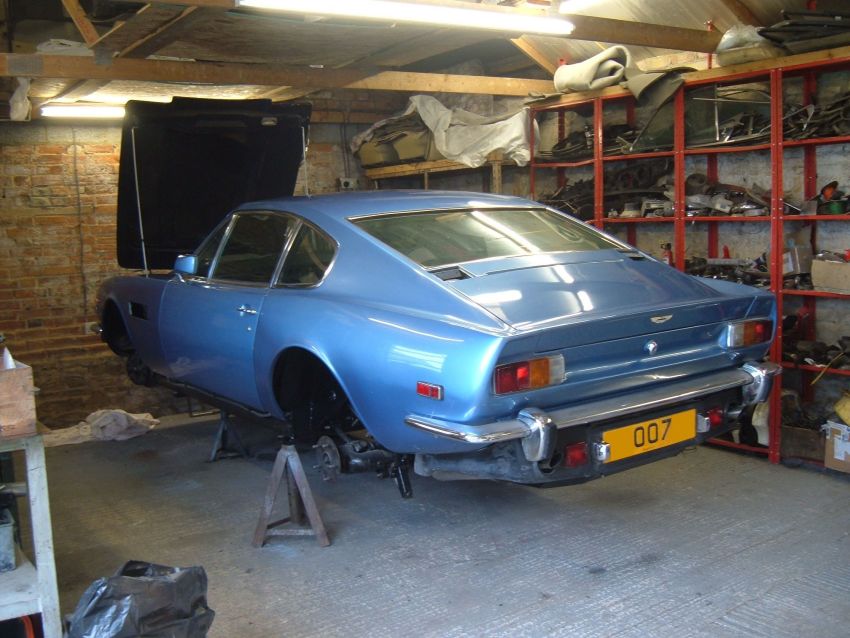
This car had been treated to a poor quality re-spray earlier in it's life. The thickness of the original factory paint was bad enough. but it was more than doubled by the re-spray. Thick paint can cause problems through sinkage and paint reactions. A full bare metal re-spray would have been the obvious answer, but these are expensive so we decided to just re-spray the areas that had been repaired and blend in the paint. |
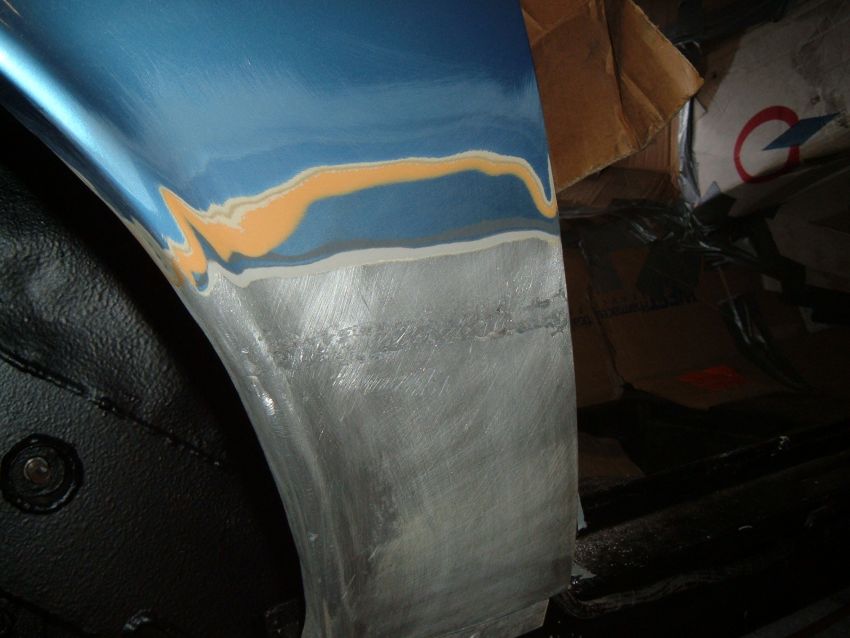 |
Self etch primer was used over the aluminium parts (nothing else will stick to aluminium), then a couple of coats of high build primer applied to smooth the transition between the original paint and the aluminium panels. |
 |
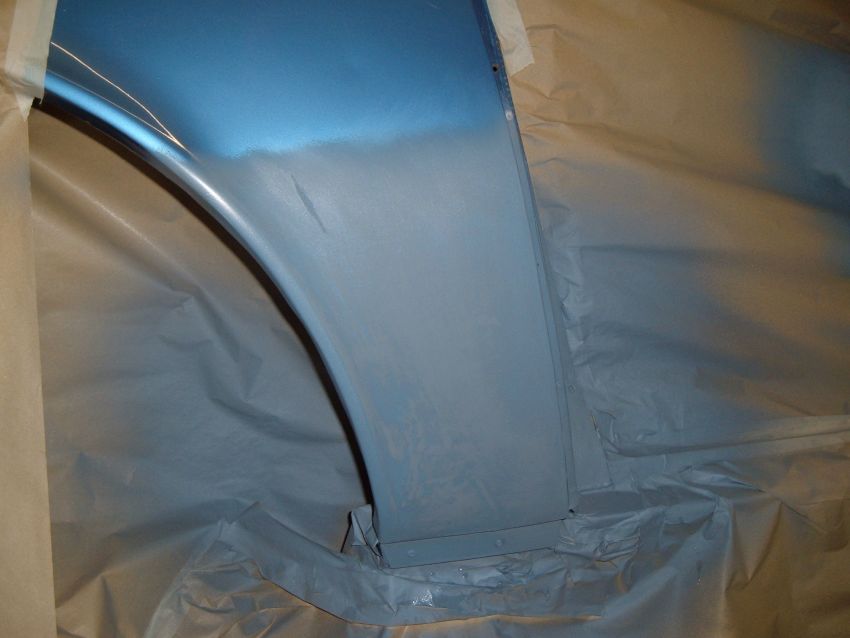
A guide coat consisting of thinned primer mixed with a little colour coat was sprayed over the primer and then removed with 400 grit wet and dry paper. The photo shows the guide coat half way through flatting and highlights an uneven area on the lower part of the panel. |
 |
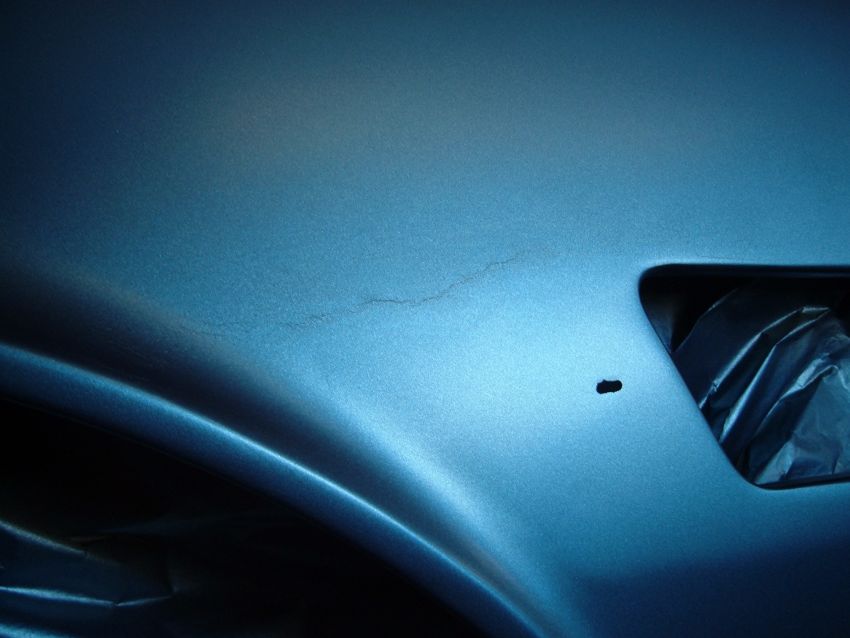
Once the primed surface had been flatted a coat of 2 pack base coat was applied. Annoyingly the paint crazed where the original paint had been feathered. This is quite common where new paint is being applied over thick older paint. Fortunately the crazing was only in the very top surface of the paint and could be flatted out. A lighter application of colour coat stopped the problem from occurring again. |
 |
A further issue was the colour of the new paint. I used the original colour, but unfortunately the previous re-spray was in a slightly different colour. It was fairly close in some light conditions, but miles out in others. There was no record of the paint colour so we resorted to colour matching. |
 |
The paint shop offered to make up some custom paint to match a panel, but a custom colour would have been a problem to match in future. We spent some time going through colour charts and selected a standard Mitsubishi colour. It was very close to the original colour, and spraying the whole side of the car made the colour easier to blend in. |
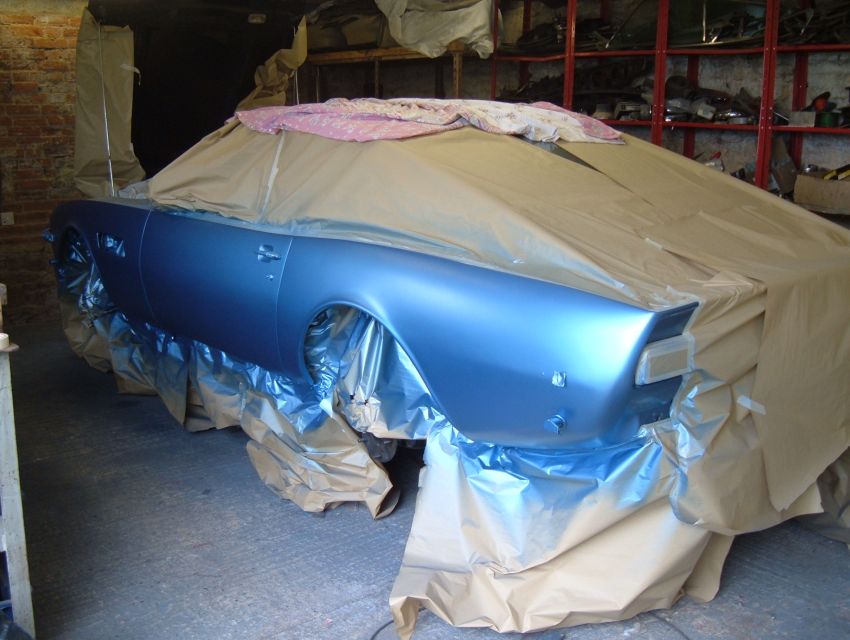 |
With non-metallic paint it is possible to flatten down the top coat before applying the lacquer, but with metallic the colour coat must be left as it came out of the gun. The approach that provided the most even look and got around the paint crazing issue was to spray light coats of metallic with a wide fan and slightly more thinners than normal. The lacquer coat can be flatted and polished in much the same way as cellulose paint. It is slow drying so will cover every exposed surface in the garage. |
 |
| The paint finish looks remarkably good. While it's not up to Aston Martin standards it is better than paint elsewhere on the car so doesn't stand out too much. A book I've found very useful is "Vehicle Painter's Notes" by Peter Child (ISBN 0-632-01873-9). It provides instructions on how to use each type of paint finish and to how to rectify problems. Back to: Aston Martin Restoration |
|